27 August 2018
Blog
how to install your roller blind

parts
- Chain end bracket x 1
- Pin end bracket x 1
- Installation screws (2 per bracket)
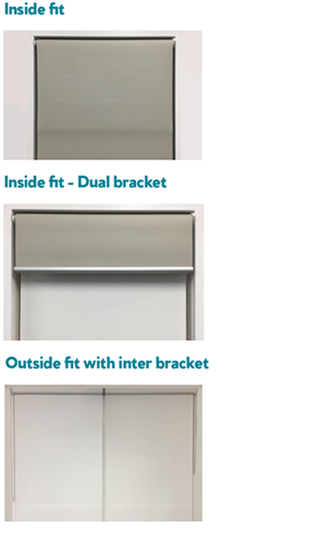
- Inter bracket (for split blinds)
step 1
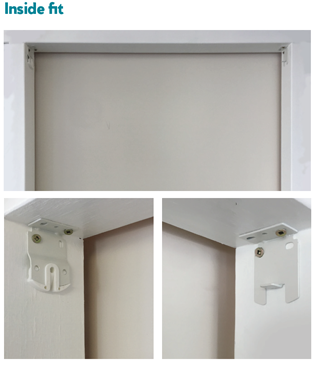
Determine the placement of each brackets at the top corners of the frame or the architrave (depending on the fitting method).
step 2

Mark the desired position of the brackets and measure the distance apart to ensure blind will fit.
step 3
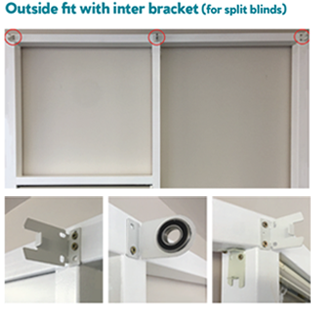
Screw through the back of the bracket, or alternatively if inside-mounting, through the side of the bracket against the frame. Take into consideration the thickness of the headrail when blind is fully rolled up. (Inter-Bracket (if applicable): Align the inter-bracket with brackets in the corners to ensure perfect fit.)
step 4
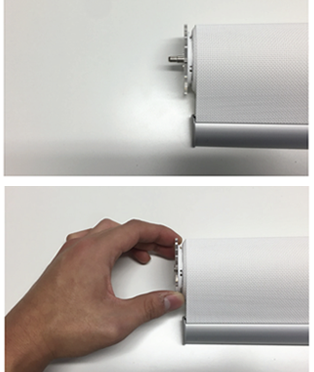
Turn the clear gear disc on the pin end to retract the pin.
step 5
Hold the blind so that the chain is hanging down correctly as shown.
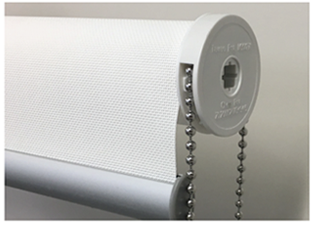
step 6
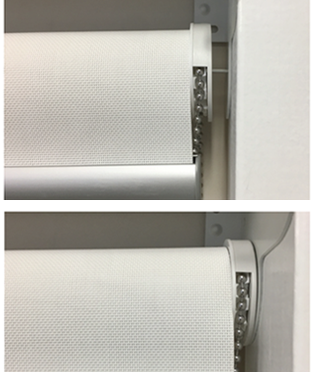
Insert the chain end on to the tongue projecting out from the chain end bracket.
step 7
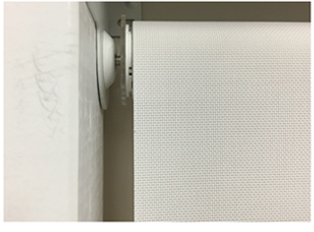
Once the chain end is set correctly, slide in the pin end and reverse the gear disc to extend the pin into the bracket hole.
step 8
Once the blind is installed, test the blind by rolling up and down using the control chain.
Stuck? We are here to help! Contact us: email info@blindsmith.co.nz call 0800 16 1415.